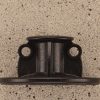
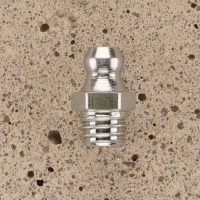
Injection adhesive packer KP50M8


Graduated prices
| Quantity | Discount (%) | Price |
|---|---|---|
| 10 | - | 0,39 € |
| 100 | 5 % | 0,37 € |
| 1.000 | 8 % | 0,36 € |
| 2.000 | 10 % | 0,35 € |
| 5.000+ | 12 % | 0,34 € |
0,39 €
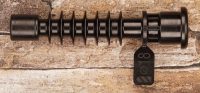
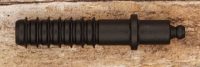
Injection adhesive packer KP50M8 - Plastic adhesive packer (glass fiber reinforced) for crack injection according to ZTV-RIS.
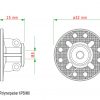
Made of glass fiber reinforced plastic - very robust, adhesive surface Ø 50 mm.
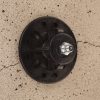
Connection: Female thread M8, free passage Ø 6 mm.
Availability: 10988 in stock
Injection adhesive packer KP50M8
for bonding to surfaces of construction elements in which drilling holes for crack injection is not desired or not permitted (ZTV-RIS).
Examples of use: Crack injection on structural elements made of prestressed concrete, concrete with dense reinforcement, or exposed concrete elements. Suitable for injection of epoxy resin, polyurethane resin, polyester resin.
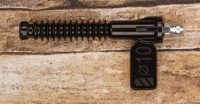
Polymerpacker Injection adhesive packer
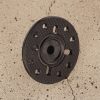
- Made of a very adhesive high-performance plastic.
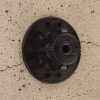
- Adhesive surface equipped with a surface structure optimized for bonding.
- Can be used for maximum injection pressures of up to 60 bar when gluing with high-quality adhesives to solid surfaces.
Polymerpacker Injection adhesive packer. The original, millionfold proven product, produced by us since 1993.
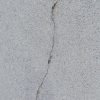
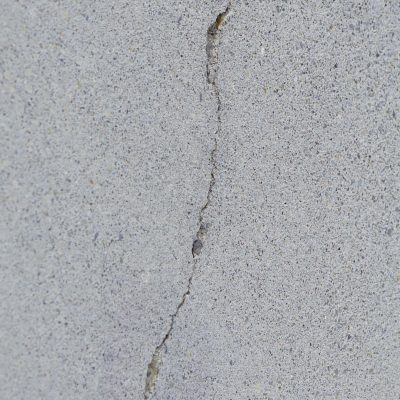
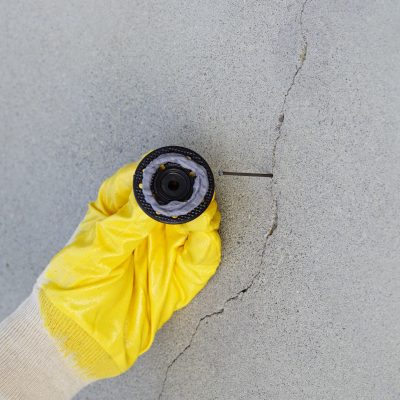
Crack injection according to ZTV-RIS on a concrete construction element, st's that simple:
1. Clean the crack by sandblasting or wire brushing and dry with hot air if necessary.
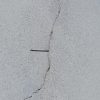
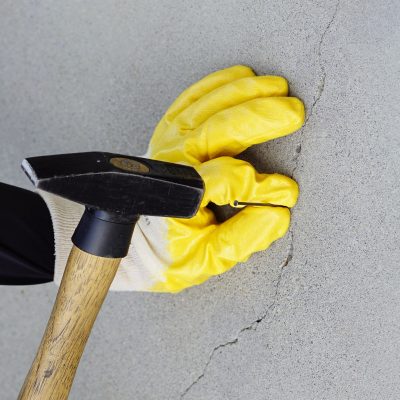
2. To prepare injection channels, drive steel nails at least approx. 5 mm deep into the crack at intervals of approx. 20 cm.
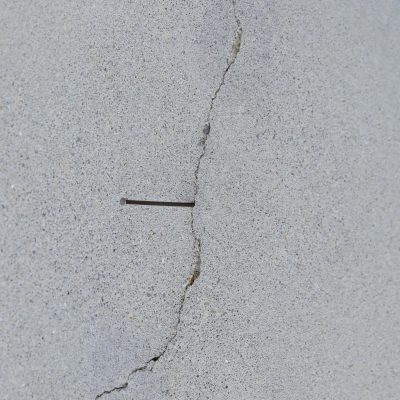
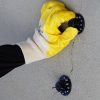
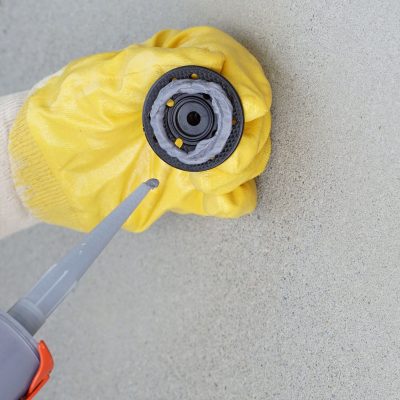
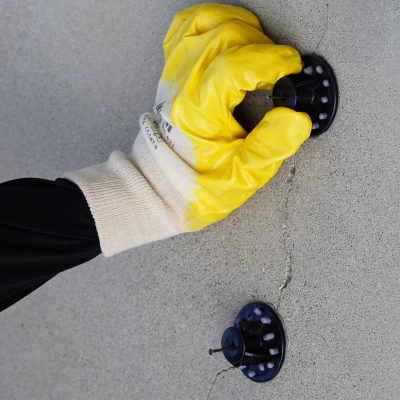
Apply suitable adhesive to the bonding surface of the adhesive packers and press the adhesive packers over the steel nails onto the surface of the concrete component. The adhesive should emerge from the openings on the backs of the bonding surfaces to create the strongest and most secure bond possible. The hammered-in steel nails prevent the injection channels from being blocked by adhesive.
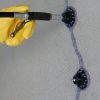
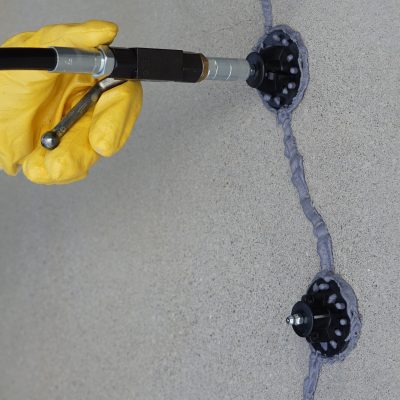
4. seal the crack with adhesive, pull out the steel nails after the adhesive has hardened and screw the tapered nipple into the threaded holes, but do not tighten it yet.

5. starting at the beginning of the crack on the first adhesive packer, tighten the tapered nipple and inject resin until foam-free resin emerges from the second adhesive packer between the thread of the adhesive packer and the tapered nipple. Now also tighten the conical nipple on the second adhesive packer and inject resin until foam-free resin emerges from the third adhesive packer between the thread of the adhesive packer and the conical nipple. Continue in this sequence until resin has been injected into all the glue packers. Then inject more resin into all the adhesive packers. This procedure should systematically press out the air in the crack and avoid air pockets.
Our recommendation:
For crack injection use the lowest possible viscosity Use epoxy, polyurethane or polyester resins at a maximum injection pressure of approx. 20 bar. For bonding injection adhesive packers to concrete surfaces, 2-component polyester composite mortar (anchor adhesive) has proved very successful.
You might also like ...
Similar products
-
Injection packers + pumps
Injection packer LSP18SKLV for drill hole 18 mm
0,87 € Add to shopping cart